

If your concrete pool is looking tired, rough, or outdated, you’re not alone. Many Gold Coast homeowners eventually reach a point where patch-up repairs aren’t working anymore, and a full renovation becomes the smarter, longer-term solution. Working with an experienced pool renovator ensures every stage of the process is handled properly, from inspection to final system checks. But what exactly does that involve?
Whether you’re refreshing a 20-year-old pool with a host of structural issues or upgrading an outdated pool to a more modern design, this guide will walk you through every stage of a concrete pool renovation, helping you understand what goes into it and what to expect in each step.
Step-by-Step Pool Renovation Process
Full renovations typically come into the picture when major concrete pool problems start to add up, like persistent leaks, structural cracks, or worn-out surfaces. These common pool problems are often signs that a full renovation is required. A full renovation can bring your pool back to life and here’s what that process usually looks like:
Step 1: Pool Inspection and Design Consultation
Every renovation begins with a detailed, on-site inspection of your existing pool. A pool professional will check the condition of the concrete shell, the interior surface, tiles, coping, and surrounding areas to spot any cracks, wear, or structural issues. The plumbing, filtration system, and drainage will also be looked at to see what’s working and what might need upgrading.
At this stage, you’ll also have the chance to talk through your goals, whether you want a more modern look, improved safety, or simply making the pool more enjoyable to use. You’ll choose interior finishes like pebblecrete, quartz, or glass bead, along with any upgrade you’re considering. Once everything’s been assessed and discussed, you’ll be given a detailed quote and a proposed timeline.
Step 2: Obtaining Permits (If Required)
Depending on the scope of the renovation, you might need approval from the local council, especially if you’re changing the depth of the pool, adjusting its shape, or making structural changes. Not every project will require permits, but it’s something that should be checked before work begins. For more information, you can check with the Gold Coast City Council to see whether approval is needed for your planned works.
An experienced pool renovator will help you figure out what’s needed. If permits are required, they’ll usually handle the process for you, including submitting documents to the council, coordinating inspections, and making sure the project complies with all relevant codes and safety standards. This is an important stage since it will help avoid unexpected delays down the track.
Step 3: Draining the Pool
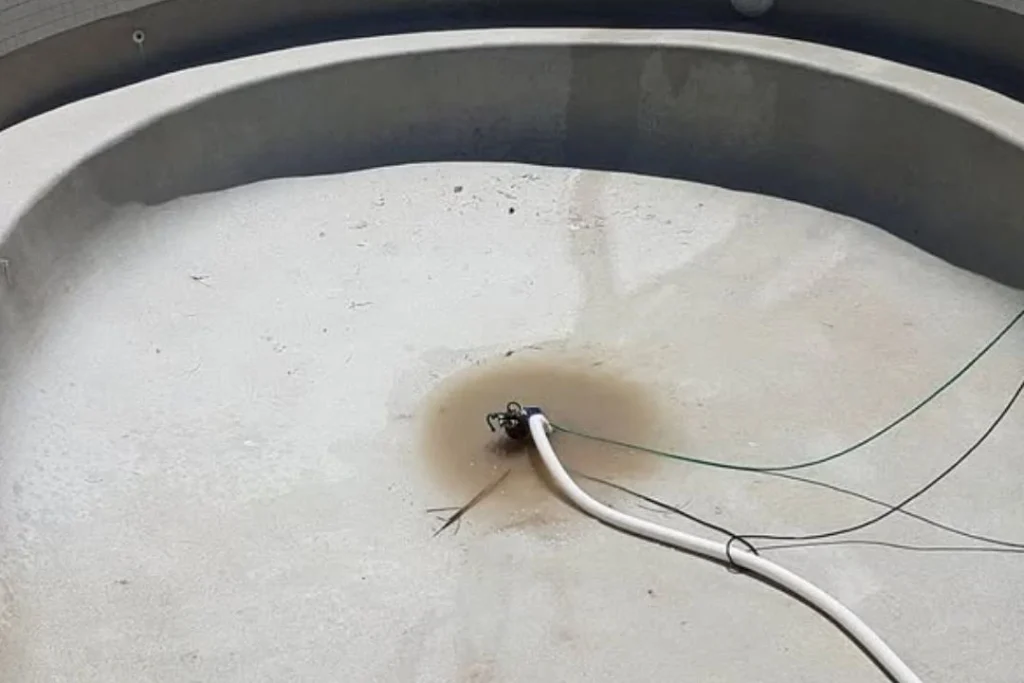
Once your renovation is ready to begin, the first physical step is draining the pool. This has to be done carefully to make sure the water is disposed of in line with local environmental regulations and to protect your property. That means using proper drainage systems to avoid runoff into stormwater or waterways.
Draining allows full access to the interior surface and pool shell. Once the water is out, your pool builder can get a better look at any hidden damage that may have been underwater, like cracks, stains, or structural issues. Depending on the pool size and your drainage setup, this step can take a few hours to a full day.
Step 4: Cleaning and Preparing the Pool Shell

With the pool fully drained, the next step is to clean the interior surface. This involves removing any loose debris, algae, mineral build-up, or staining that might have built up over time. High-pressure cleaning equipment and specialised tools are used to get the shell as clean as possible.
Once dirt and residue are gone, hidden cracks or weak spots that weren’t visible earlier often come to light. If there are any hollow-sounding areas in the shell, it can also indicate compromised concrete that needs to be addressed. Proper preparation in this step ensures that the new surface will bond properly.
Step 5: Chipping Out the Old Surface
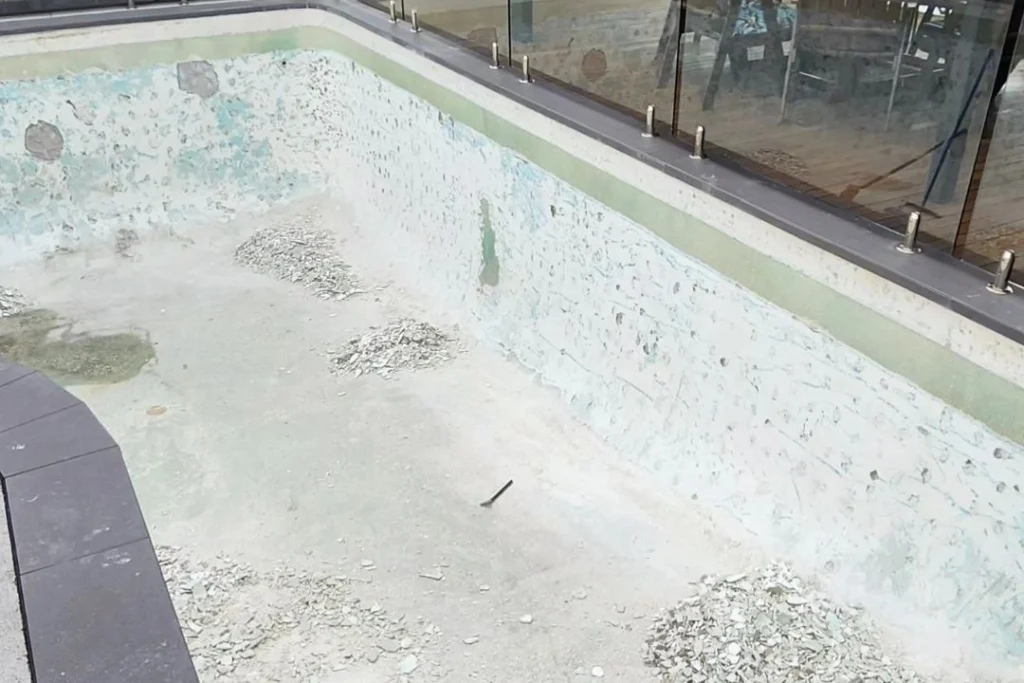
Now that the shell is clean and fully prepared, it’s time to remove the old interior surface. This process is called “chipping out” and it involves stripping away the existing finish, whether it’s painted concrete, plaster, old pebblecrete, or another coating. Leaving any part of the old surface behind can lead to bonding issues later on, which increases the risk of delamination or when the surface starts peeling away over time.
This stage usually takes a day or two, depending on the size of the pool and what kind of material we’re removing. Once done, the shell is ready for any repairs and for your new finish to be applied properly.
Step 6: Structural Repairs and Plumbing Upgrades
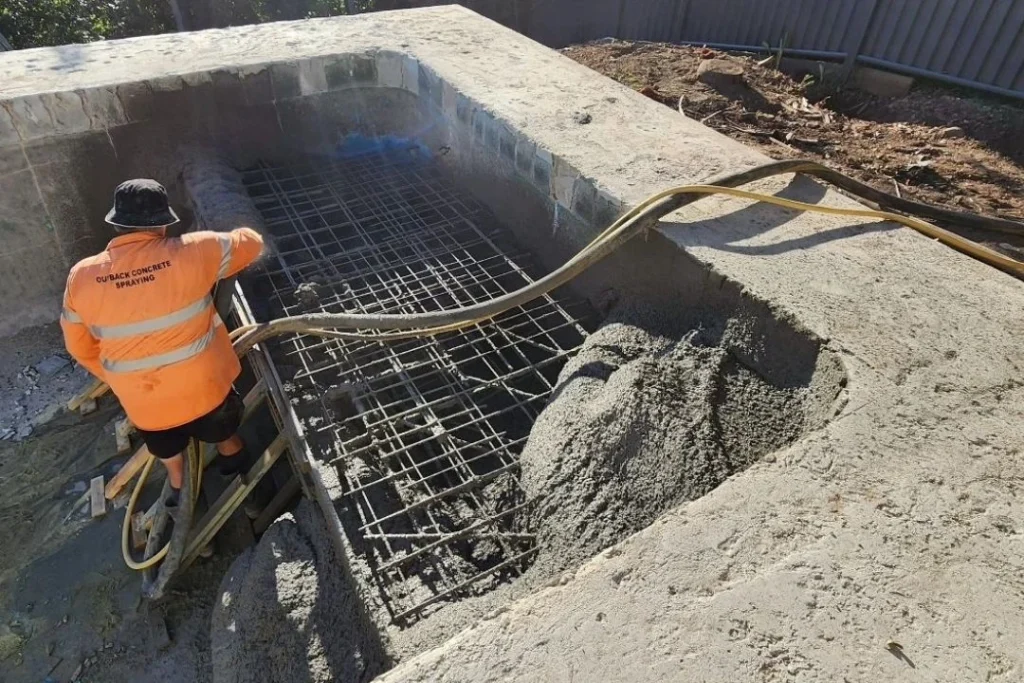
Once the old surface is removed and the bare shell is exposed, we can get to work on any structural repairs. This might include sealing visible cracks, patching areas where the concrete has worn thin, or applying waterproof membranes to reinforce vulnerable sections. If your pool has been leaking, this is when the contractor tracks down the source and fixes it properly.
At the same time, they will look at the plumbing system. If the pipes are old, brittle, or leaking, they’ll be replaced with durable, modern materials. If needed, skimmer boxes, return jets, and vacuum lines will be checked to improve circulation and efficiency. If you’re planning to add new equipment like a heat pump, saltwater system, or pool automation, any necessary reconfiguration will be done during this stage. It’s also a good time to consider a more efficient pool pump to help reduce energy use. Read the Australian Government’s guide for details on choosing the right one for your setup.
Step 7: Applying the New Surface Finish
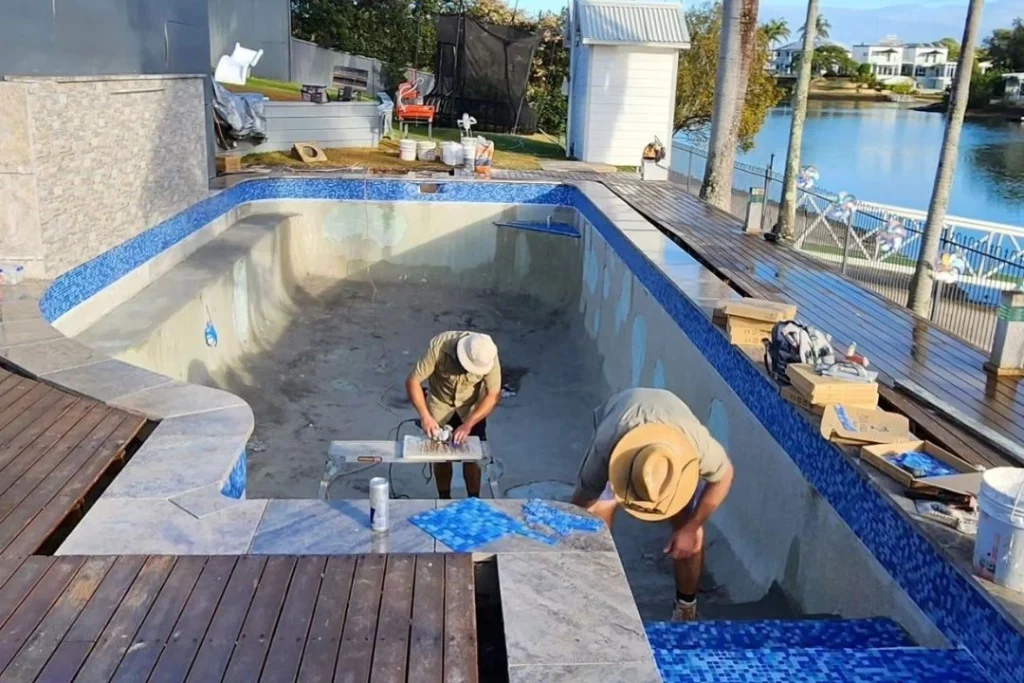
Once the structure is sound and repairs are complete, it’s time for the part most homeowners look forward to: applying the new interior finish. This is what gives your pool its colour, texture, and overall feel. Whether you’ve chosen a natural pebblecrete, a polished quartz blend, or a high-end glass bead finish, this layer transforms the shell into a swim-ready finish.
The new finish is carefully applied by hand to create an even, smooth surface. If you’ve chosen waterline tiles or feature bands, they will be installed at the same time. These details add a polished look and also make cleaning around the edges much easier.
Step 8: Installing New Coping and Decking
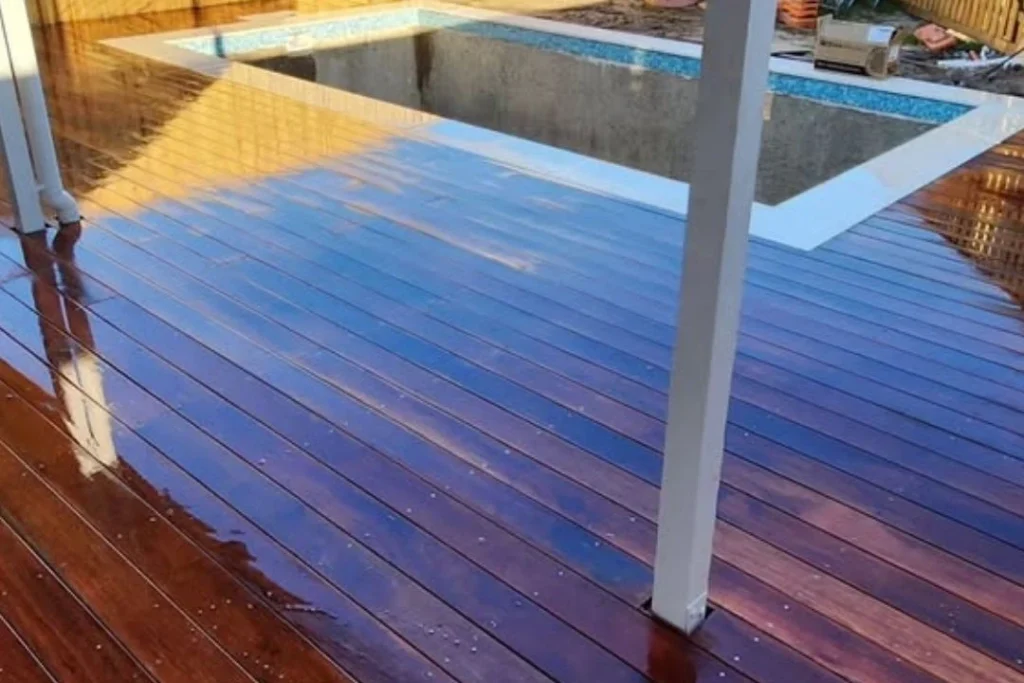
With the pool interior nearly complete, it’s time to move on to the edges and the surrounding area. Coping refers to the material that lines the top edge of your pool, where the water meets the outside. Over time, old coping can shift, crack, or date the look of your pool, so this is the chance to update it with something safer and more modern.
You can choose from a range of materials like natural stone, precast concrete, pavers, or tiles, depending on your style and budget. The goal is to create a clean, safe edge that ties in with the rest of your outdoor space. New coping will be installed with proper expansion joints and drainage in mind to help it last through Gold Coast summers and storm seasons.
If you’re upgrading the pool surrounds, too, this is when new decking is installed. Whether you’re going for tiled, exposed aggregate, or timber-look composite, it all comes together at this stage to finish off the new pool area.
Step 9: Refilling the Pool
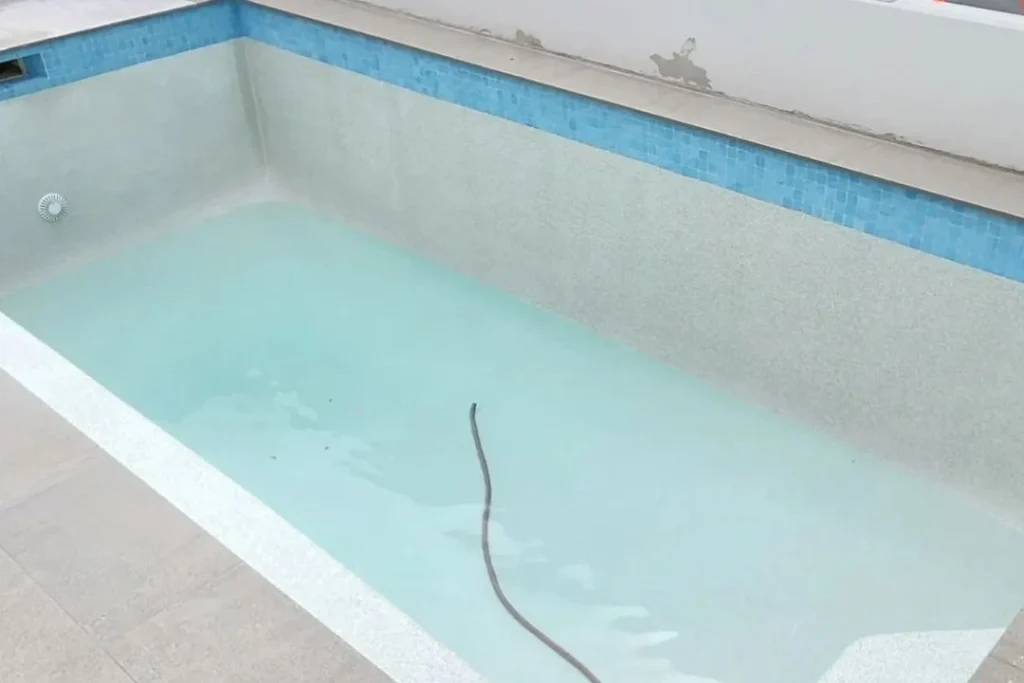
Once all the surfaces are installed and fully cured, it’s time to refill your pool with fresh water. This step may seem simple, but it needs to be handled with care, especially if you’ve chosen a finish like quartz or glass bead, which can be sensitive during the early stages of curing. Filling too quickly or unevenly can affect the final look and lifespan of the surface.
In this step, controlled filling methods are used to protect your new finish and make sure the water level rises evenly. Depending on the size of the pool and your water pressure, refilling can take anywhere from several hours to a full day. During this time, it’s essential to monitor the surface to make sure everything is settling correctly.
Step 10: Balancing Water Chemistry and Final System Checks
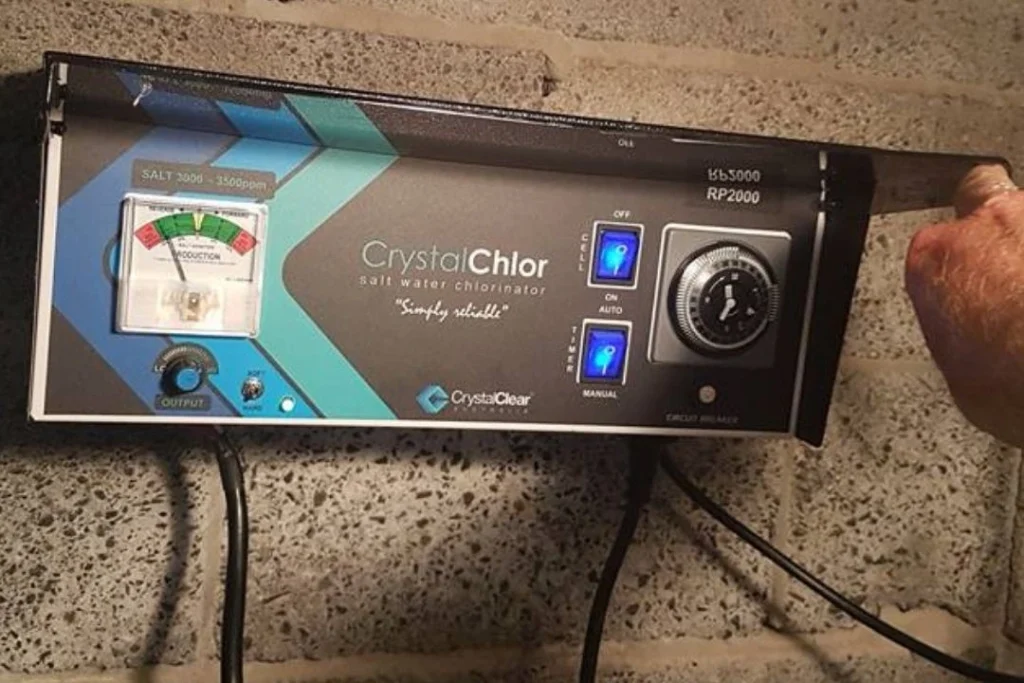
Now that the pool is full, it’s time to make sure the water is safe, balanced, and ready to enjoy. It starts by gradually adjusting the chemical levels (pH, alkalinity, calcium, and chlorine) to protect the new surface and create a safe environment for swimming. This step is especially important to be monitored in the first few days, as improper water chemistry can damage fresh finishes before they’ve had time to fully cure.
Next, there’s a full check of the filtration system, pump, heating, lighting, and any automation features that were upgraded or replaced. Everything is tested and makes sure it’s working efficiently and as expected. To wrap things up, you’ll be given a walk-through of the entire setup, such as how to maintain the water, when to clean, and how to look after your new pool surface long-term.
Bonus: Optional Extras to Consider
A full pool renovation is the perfect time to upgrade more than just the surface. Many homeowners take the opportunity to add features that make the pool more enjoyable, easier to maintain, and better suited to year-round living on the Gold Coast.
Here are some popular extras you might want to include:
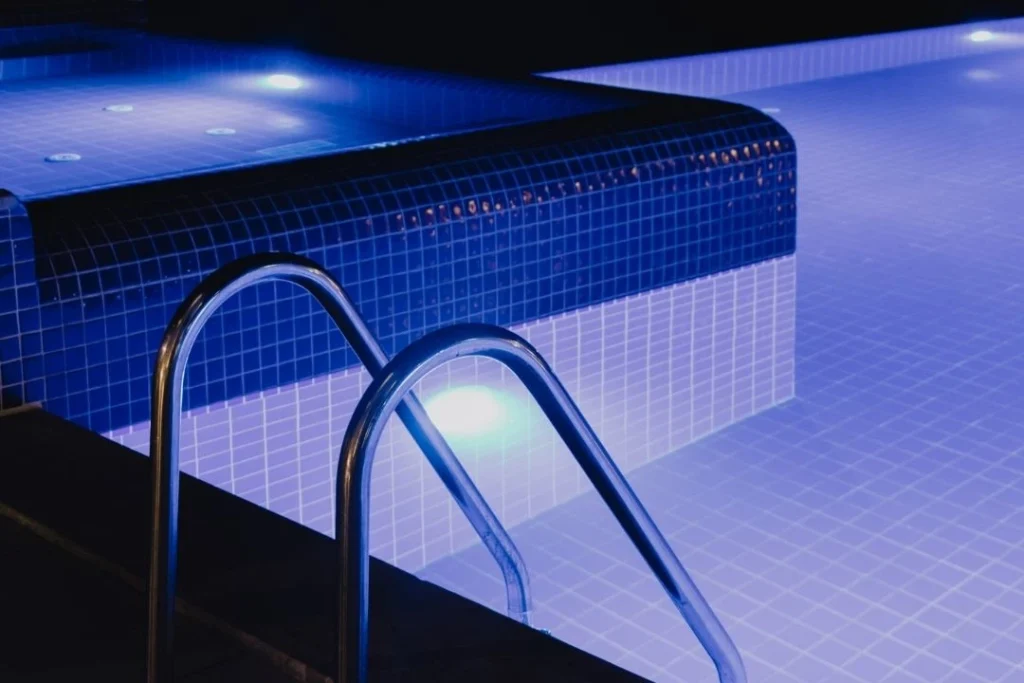
- LED pool lighting. Long-lasting, energy-efficient, and available in colour-changing options to help create the desired mood for an evening dip or the perfect ambience for outdoor entertainment.
- Pool heating. Choose solar-powered for eco-friendly warmth or gas for fast, reliable temperature control.
- Water features or spa jets. Add a resort-style feel with cascading waterfalls, jets, or built-in spa seating.
- Pool automation systems. Control pumps, lights, and heating from your phone for hassle-free pool management.
- Updated fencing. Replace old fencing with frameless glass or modern aluminium for a safer, more stylish finish.
These extras aren’t essential, but they can enhance the final result and help your new pool area feel like a true upgrade.
How Long Does a Concrete Pool Renovation Take?
Most full pool renovations on the Gold Coast take between 2 to 6 weeks, depending on the scope of work. Smaller jobs like resurfacing may be done in just a couple of weeks. More involved projects, like those with structural repairs, decking upgrades, plumbing replacements, or permit requirements, can take longer. These factors can affect your renovation timeline:
- Extent of repairs
- Surface choice
- Weather conditions
- Permit approvals
A pool renovator should provide a clear schedule at the start of the job, along with regular updates along the way. The goal is always to complete the work efficiently without compromising quality, so you can enjoy your pool sooner and with total peace of mind.
Give Your Pool a Fresh Start
A full pool renovation is a smart way to restore your outdoor space and make it more enjoyable for years to come. It improves safety, modernises the look, and can reduce maintenance headaches long-term. Whether your pool is worn out, leaking, or just needs a fresh start, renovating gives you a chance to make it right. And when you understand what’s involved, it all feels a lot less overwhelming and a lot more doable.
If you’re ready to take the next step, we’ll walk you through the process and what’s realistic for your pool. It’s about finding the right approach for your pool, your priorities, and how you actually use the space. Get in touch today to book a free onsite inspection!
